Showing posts with label tutorial. Show all posts

Monday, 7 July 2014

Quick Butterfly tutorial

Morning all :-) Hope that we had a fab weekend doing lots of fun things! I had a bit of a nightmare with a nasty bite on my foot that has gone dodgy and made my foot the size of a blimp :-( So i am off to the Dr's later on to see if they are just going to chop it off and be done with it!

Anyways i thought as it's a nice sunny day i would share this gorgeous quick and easy paper butterfly tutorial with you all.

What you will need....

Heart die cuts i used my sizzix original x4 heart die
Assortment of Papers
Assortment of Sticky Gems
Double sided tape

Simply cut 2 hearts the same size, join them with double sided tape then cover the join with sticky gems then fold the wings inward slightly! That's it super cute and super quick and perfect for any crafting project :-) 


Have fun with these little cuties :-) xx


Tuesday, 1 July 2014

Tutorial Layered flowers :-)

Well after a long time away again due to my health i have got myself into a better place so i am ready to get blogging again.

I eventually got my big shot for my birthday and i am in love with it!! You can do so much with it and believe me i have been. Today i am going to share a layered flower tutorial with you all. 

Pop by and LIKE my facebook page for a chance to win a kit to make 5 of these yourself.
Emsie Makes


What you will need.......

Sizzix Big shot
5mm Double sided sticky tape
Assorted Gems
Mixed flower die
Sticky pads
Assorted papers and cards


Start off by selecting lots of different coloured papers and cards in different textures and thicknesses then cut lots and lots of sets of your flowers ready to layer up.


Now you have lots of flowers cut you can really start to have fun with them, I love different textures and effects so i started experimenting with the cuts.


For this one i picked a really nice, heavy card.


To start i folded down the center of the petals on all of the cut flowers to give them a really nice shape.


Once i have done it with them all you are ready to start layering them up.


 I love this thin tape, double sided tape available at most craft shops


Place a piece of the double sided tape on the back of one of the petals and attach to another in an alternate style.


Continue to layer them up in size order from largest to smallest in alternated colours as shown.


Build up till you have no more flowers left then you are ready for the final detail and that's the bling!


Use some of the sticky tape on the back of your chosen gem and then add it to your layered flowers.


Now these are ready to use on lots of different crafty projects, i will be using mine on my cards. They will look amazing in red and green for Christmas cards.

Hope you all have lots of fun trying this out xxx


Monday, 26 May 2014

Decoupage stamping card topper tutorial

Well lately i have had a bit of a tough time so i have not had time to blog, get into my creation cave or  get near my computer for that matter! It really has been a rollercoaster of crazy that is only calming down for a day or 2 then back to madness for a week! So while i have the chance to blog and craft i am grabbing it with both hands ;-)

I have recently discovered ProMarkers and i love them, i have been practising my shading technique and control. I have some gorgeous stamps that i wanted to combined with my new toys to really bring them to life.


What you need to get started...

Rubber stamp
Ink pad in black
ProMarkers
Scrap of White Card
Perspex Block


Stamp a full size image and then another 2 of the part you want to male into decoupage.


Select the colour ProMarkers you want to use, i am loving nautical colours at the moment.


Colour the full image, leave the middle one white and colour the piece to go on top identically to the full sized image.


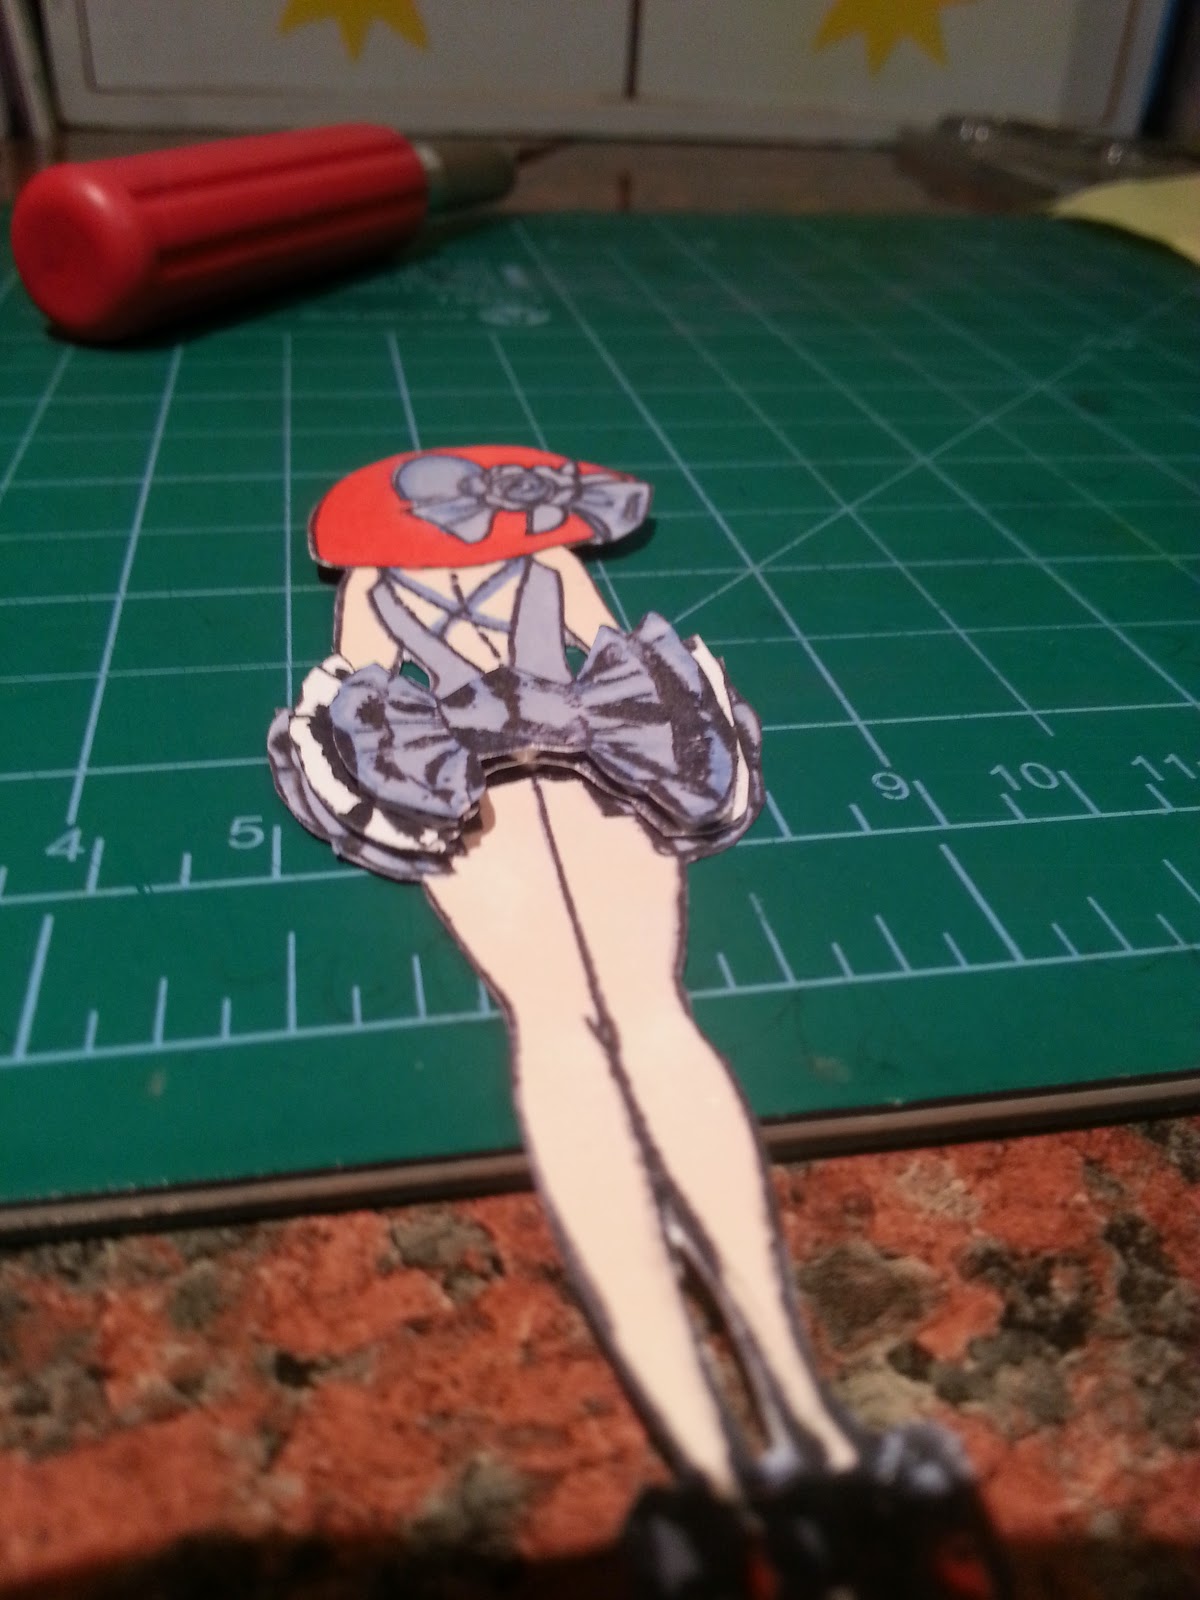
Then cut them out with scissors and/or a craft knife, remember to cut the middle layer smaller than the full sized image and the top part smaller than the middle part to get a gorgeous 3D layered effect. I cut the ruffles on the skirt detail to get this effect. Once you have done this get some sticky pads and layer it up.


Once you have done this you are ready to make the mount :-)


What you will need for this....

Ink Pad of whatever colour you choose
Make Up sponge
Die Cut Oblong 
Sticky Pads
Liquid Pearls


Dab the sponge on the ink pad then press on the die cut to transfer the colour, i always make the corners darker when making these so it really stands out.


Now it's ready to attach your decoupage with foam pads.


Finally take some liquid pearls and add some in the corners, on the hat and at the back of the dress along with a sticky gem.


And that's it ready to attach to any card ;-)


Tuesday, 6 May 2014

Standing theater card tutorial

I am so glad the bank holidays are over for a few weeks again, they always throw me out with my days! I do love spending them crafting though and have made one or two pretties over the weekend.

I especially love the card i am going to show you how to make, it looks really complicated but in fact is rather easy to make and it looks beautiful when finished.

What you will need to get started

1 sheet of A4 card
Ruler
Craft Knife
Cutting mat
Pencil
6x6 Papers, here i used Lily rose papers free with cardmaking inspiration this month.
Double sided sticky tape.
Paper trimmer
Embellishments
Inks
Rubber stamp
Perspex block
Foam pads


My free gifts in this issues Cardmaking Inspirations. A rubber stamp set and papers from Lily Rose 


Start off by taking your sheet of A4 card and your ruler, pencil and craft knife and turn to landscape view.


Start by trimming the card so it measures 14cm from top to bottom in landscape view.
Then measur 4 lines from top to bottom at 4.9cm, 9.9cm, 19.9cm and 24.9cm along that go to 14cm like shown above and score these lines (i use a craft knife and ruler but you can get scoring boards for this)

Next measure along the top and bottom marking up 2.4cm, 12.4cm. 17.5cm and 27.4cm then measure 2.5cm lines downwards and upwards along the top and bottom and score the 2.5cm lines. Then between the top of the 2.5cm lines cut through to make a slit in the card at both the top and bottom.


After all the measuring, scoring and cutting fold like this above, it can be a bit fiddly but it should end up looking like this.


After you fold both sides your card should stand like this :-)


Now you have a base for your decorations :-0 


Firstly i start by cutting my backing papers to fit the panels you want to cover, here are the bits you will need. When choosing your papers fiddle about and see what colours work well with each other.


You will need 2 pieces for the center measuring 9.8cm x 8.7cm and 8.7cm x 7.8cm
For the panels on the side cut 4.7cm by 8.6cm and for the small pieces cut 3 pieces 4.6cm x 2.3cm.


Back with double sided tape and start layering up and attaching to the card.


You can see how it starts to build up, i decided to stamp the center panel with the beautiful lily rose stamps using Tim Holtz Distress Ink in Faded Jeans and Yinks Pink Ink to give it a 3d effect on the paper. You can decorate you card however you wish, there are so many options for these cards.


Here is my finished card stamped up, embellished up and ready to give to someone.
Also used Woodware Craft collection Punches for top hearts and flowers,
Poundland flowers, dragonfly's and heart gems.

Let me know if you give this a try i would love to see your versions ;-) xx


Friday, 25 April 2014

Give me Quiche SW style

As i am back on the slimming world wagon i am cooking up a storm again :-) With the help of my sous chef as me, knives and tremors don't mix! I love the food that you can eat on slimming word plan and really don't know why i fall off the wagon! This time i am doing it and doing it right because my weight isn't helping my health in any way.

After perusing A Beautiful Mess and spotting their gorgeous quiche recipe i thought i would do a super healthy crustless version that is slimming world friendly but equally as tasty. I am following the extra easy plan as i always get the best results from it.

This is fab because you can make so many different meals with quiche and it's fab just to have in the fridge as a snack as one of the times i feel i stray off the diet path is when i am mega hungry and need something NOW so this is ideal to have ready to munch on.

What you will need for the quiche

Reduced/Low fat cheddar 45g healthy extra
Red pepper
Broccoli
Onion red and white
Tomato
Mushrooms
Frylight
Sweetcorn
8 Eggs Free range
Salt & Pepper
Oven proof Dish


Firstly i always prep my eggs by cracking them into a jug and whisking them adding the cheese, salt and pepper.


Then prep your veg by chopping it up into chunky size pieces.


Next spray your oven proof dish with a coating of frylight then pop your veg in, then cover with the egg mixture.Leaving the tomato till last pop on top once the egg mixture has been added.


Pop it in the oven on gas mark 6 for 25 mins or until the egg is firm and golden.


Mmmmmmmmm lunch is served! 


All healthy and all free :0


Thursday, 24 April 2014

Finding a bargain on Ebay


I got some fab new goodies today i purchased off ebay :-) I keep finding bargains so i figure it's rude not to purchase them. Over the past few weeks i have managed to bag Sizzix dies, Fiskars Punches, papers , stamps, glues, inks, card blanks and loads more. When starting to build up a collection it can be very expensive so ebay is a fab place to start.

How to nab a bargain

1. I always search items ending soonest so i am available to bid on the item.
2. When searching i usually go for Craft Clearout then you usually get a mix of everything usually for bargain prices unless you are looking for specific items. 
3. Even browsing through the lots for sale can give you inspiration for crafting projects, i always have a pen and paper handy to jot these down.
4. Set a budget and stick to it, i usually give myself a weekly allowance of what i can spend on goodies. If you end up bidding more that you would really like to it's no longer a bargain so be mindful.
5. Avoid Buy it nows they are usually way overpriced for what they are.
6. As fab as it is buying remember you can sell to, it's a fab way to keep your craft room de-cluttered.


I got all of this for £13.00 amazing bargain or what!


Some of my new die cuts i received today, I got 11 of them for £11.00 and i have just bought some gorgeous new rubber stamps today for 65p!

It's always worth checking ebay out, even with postage it can work out a lot cheaper and you can get things that are no longer available in the shops.