Well lately i have had a bit of a tough time so i have not had time to blog, get into my creation cave or get near my computer for that matter! It really has been a rollercoaster of crazy that is only calming down for a day or 2 then back to madness for a week! So while i have the chance to blog and craft i am grabbing it with both hands ;-)
I have recently discovered ProMarkers and i love them, i have been practising my shading technique and control. I have some gorgeous stamps that i wanted to combined with my new toys to really bring them to life.
What you need to get started...
Rubber stamp
Ink pad in black
ProMarkers
Scrap of White Card
Perspex Block
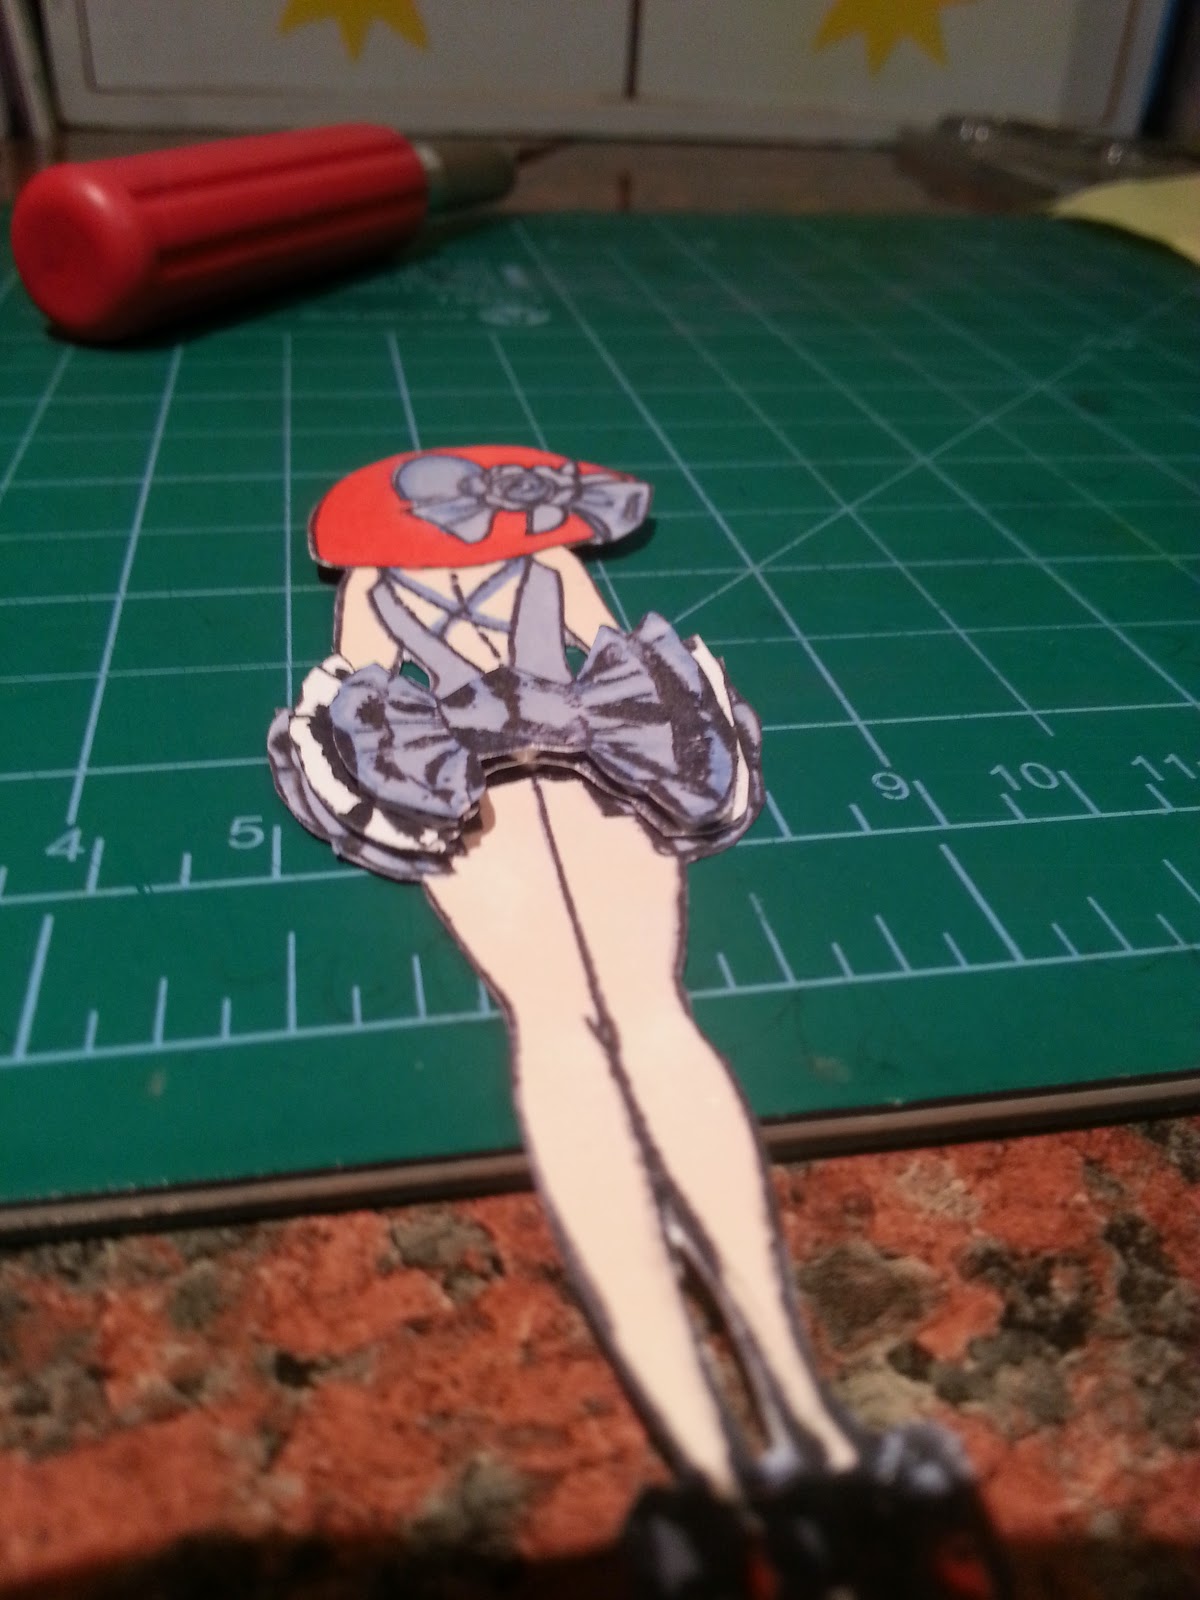
Stamp a full size image and then another 2 of the part you want to male into decoupage.
Select the colour ProMarkers you want to use, i am loving nautical colours at the moment.
Colour the full image, leave the middle one white and colour the piece to go on top identically to the full sized image.
Then cut them out with scissors and/or a craft knife, remember to cut the middle layer smaller than the full sized image and the top part smaller than the middle part to get a gorgeous 3D layered effect. I cut the ruffles on the skirt detail to get this effect. Once you have done this get some sticky pads and layer it up.
Once you have done this you are ready to make the mount :-)
What you will need for this....
Ink Pad of whatever colour you choose
Make Up sponge
Die Cut Oblong
Sticky Pads
Liquid Pearls
Dab the sponge on the ink pad then press on the die cut to transfer the colour, i always make the corners darker when making these so it really stands out.
Now it's ready to attach your decoupage with foam pads.
Finally take some liquid pearls and add some in the corners, on the hat and at the back of the dress along with a sticky gem.
And that's it ready to attach to any card ;-)


No comments:
Post a Comment